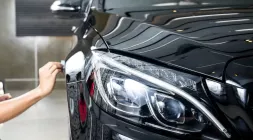
How to Repair Your Car's Deep Scratch
Let's check out 5 handy steps in repairing car's deep scratch!
We love our car so much. We want it to look perfectly clean and shiny. We keep our cars clean and looking new. But that effort will end up being useless because of scratches. A simple scratch can ruin the look of a newly polished car.
Scratches can occur almost every day. It can be caused by different reasons. Some scratches can be from loose pebbles, or careless driver, or any debris from roads and highways. These are a major headache for most vehicle owners. And it can deal more damage if not dealt quickly. Deep scratches, most especially, are really a problem, because it can expose your car’s bare metal and can rust in just a couple of day, causing a more serious problem that requires a more difficult solution.
Luckily, Philcarnews.com is here to help you. Here is the step-by-step process on how to repair vehicle’s deep scratches.
1. Preparation
Before anything else, the first thing you need to do is to clean your car. You need to wash your car in the same way as what you regularly do. Wash your car properly. Make sure that it is completely clean and dry before the next procedure.
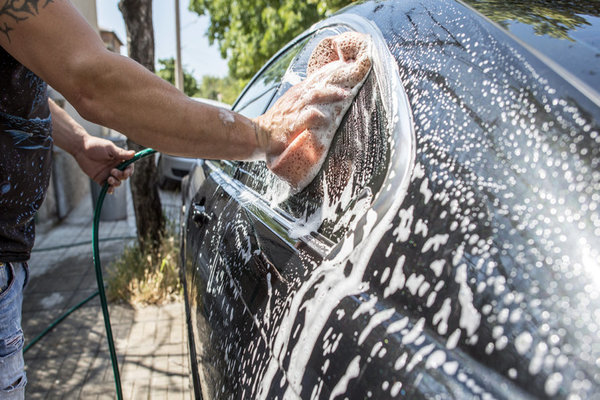
Thoroughly wash the whole car before starting to repair the deep scratch
After the thorough cleaning of your car, you can start to inspect how deep scratch the scratch is. Check if it only damages the primer or the car’s bare metal. In that way, you’ll know the right application for the scratch.
You can start preparing the area by covering the surrounding of the area by using newspaper and masking tape. These will prevent overspray to the areas that are undamaged. You need to mask the part depending on the damaged area. To be sure, you can cover a larger area to protect the undamaged surface from any spray paint that can be carried away by the air to different parts of the car’s finish.
After securing the undamaged surface, you’ll need to use some paint cutting or rubbing compound on damaged area and around it as well. You have to remove a layer of the surrounding area, just a very thin one. This will greatly help in the blending the new coat later. After doing so, clean the area again and make sure that it is free from any small particles and other mess. Be sure that it is free and clear from dirt for the painting later.
2. Application of the color coat
In the application part, you have to make two things, choosing the perfect paint color for your car and the proper application of the paint.
2.1. Choose the right color
You need to be extra meticulous when looking for the touch-up paint which will match your car’s paint perfectly. To easily find the perfect paint color, you can base it on its brand, manufacturer and year. You can find a variety of car paint’s that are perfect for any deep scratch repair.
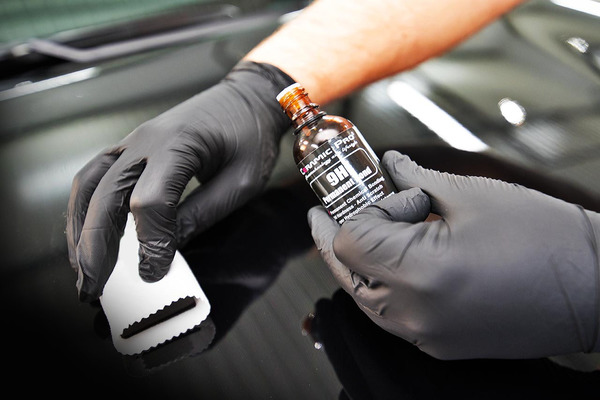
Find the color that best fits your car's paint
2.2. Application of the paint
There are choices if you want a spray paint or if you would rather prefer a fine paint brush. You can also use a cocktail stick to easily build up the thin layer. The main objective here is to build and apply the paint in the right amount, just below the surrounding’s clear coat level. Let it dry for about 10-30 minutes. Some paints took long hours to dry, it depends on the temperature and the paint itself.
3. Application of Clear Coat
Once you are contented and feeling satisfied with the color coat that you applied, let it dry completely. Once it has dried completely, you can now apply the clear coat. Make sure to apply it in thin layers, so that, it sits just a bit above the surrounding paint. Once again, remember that the drying of the coat will greatly depend on the temperature. So, during application, it is better to allow a 10 to 30 minutes time interval.
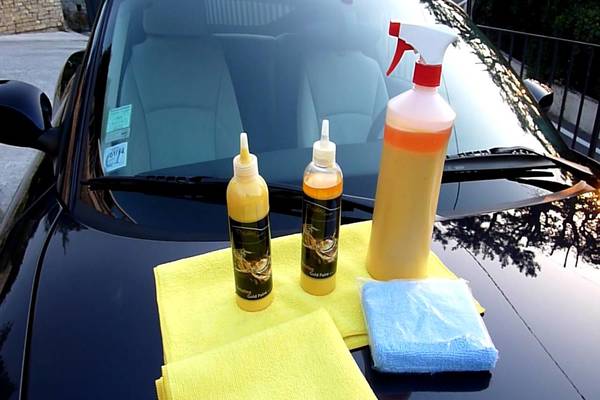
Once the color coat dried completely, you cab start applying the clear coat to the car's surface
In some cases, you have to let the paint totally harden and dry. Sometimes it might take more than a day before you can proceed to the next step.
4. Flatten the area
After the paint has finally hardened and now totally dry, you can now proceed to the next step; and that is smoothening the area. This is important because if it’s flat, it wouldn’t be noticeable and will blend perfectly with the car’s paint.
Here, you have to use an abrasive cutting/rubbing compound or a really fine grit wet and dry sandpaper. What you’ll have to use depends on the scratch. Same with what you did on the initial stage, you have to apply the compound in the same circular motion. If you’re using sandpaper, use a course one first, then change the paper into a finer grit (up to 2500 grit) in stages.
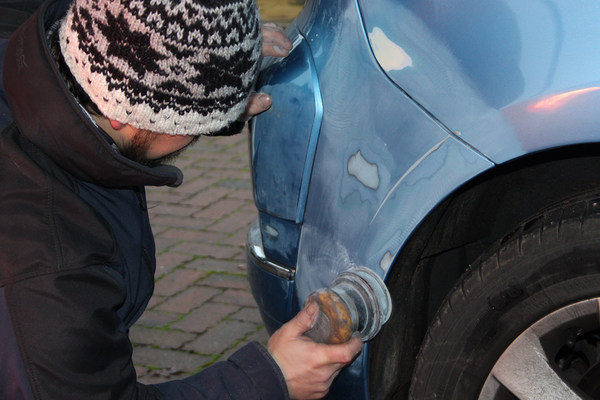
You need to smoothen the surface for it to blend perfectly in the car's paint
5. Finishing
You’re now on the last stage. In this stage, you have to use a polish that will make your car have a perfect and polished finish. There will be instruction in the polish packaging. You just have to follow those instructions and your car will be good as new. If you are not contented with your car’s finish, you can try giving it an extra buff or a wax for a more radiating shine.
After you follow these five simple steps, your car’s deep scratch wouldn’t even be noticeable. You don’t have to ask for professional help that will just cost you more money. You can do all that on your own. These DIY steps are here to guide you perform the job like a pro. So the next time you’ll have to face deep scratch repair again, you don’t have to worry. You are now aware of what to do.
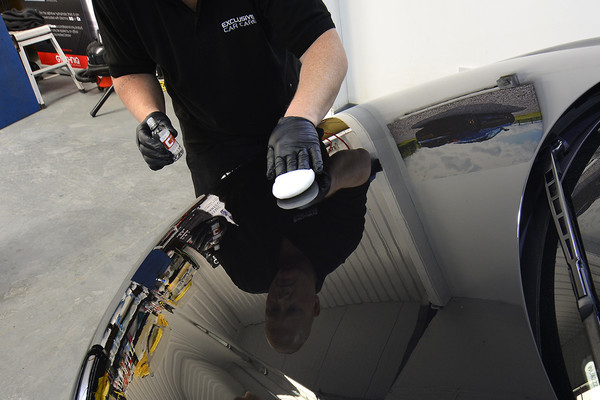
Use a polish for your to have a shiny finish
We cannot really avoid scratches especially on our day to day drive. Pebbles, debris, and circumstances are everywhere, causing scratches to our car's polished finish. It is truly frustrating at times, especially that car repairs cost are expensive. Good thing there are handy guides to help us solve this problem on our own.
Knowing procedures like repairing your own car’s deep scratches does not only save you from spending repair money, doing the job on your own is also very rewarding and fulfilling as a vehicle owner.
>>> Click to get more tips and advice for your car maintenance
Tag:
car scratchRECENT ARTICLES


